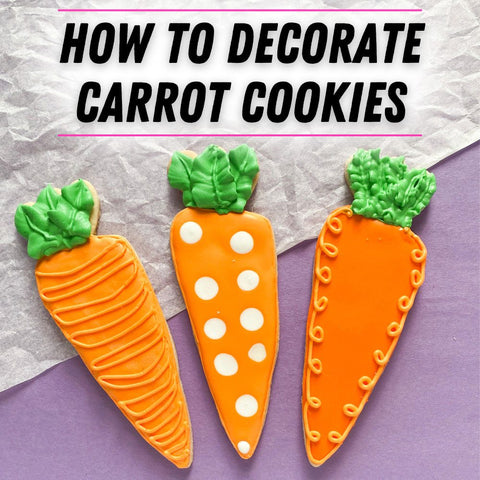
Simple yet adorable! Easter Carrot cookies are easy to decorate!
If you’re a beginner, I’m speaking to you, I’m challenging you to make and decorate these adorable carrot cookies, I know you can do it!
These cookies look adorable inside Easter baskets or on a platter at Easter brunch. Quick and easy to make, you can decorate multiple batches of these cookies quickly and hand them out to all your friends, family, and co workers.
What you’ll need to make carrot cookies:
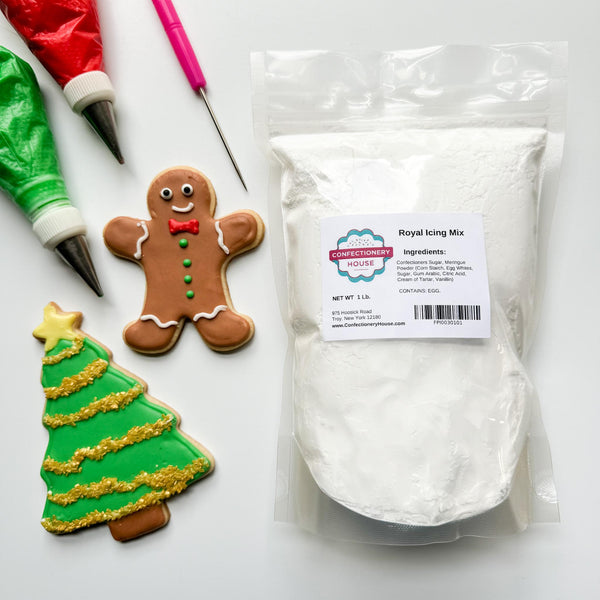
Royal Icing Mix
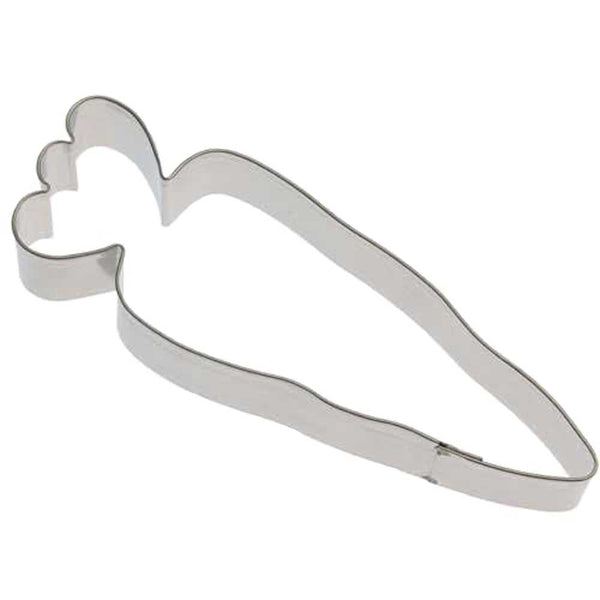
Carrot Cookie Cutter
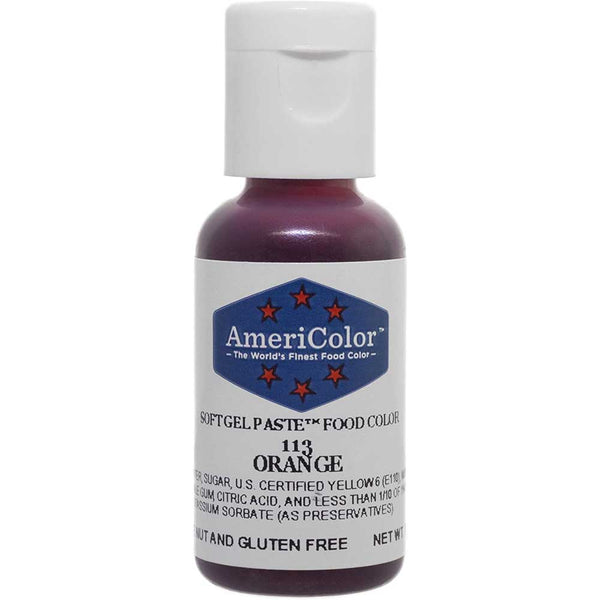
Orange AmeriColor Gel Paste Food Coloring
Leaf Green AmeriColor Gel Paste Food Coloring
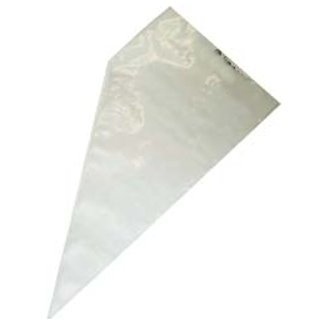
Disposable Pastry Bags
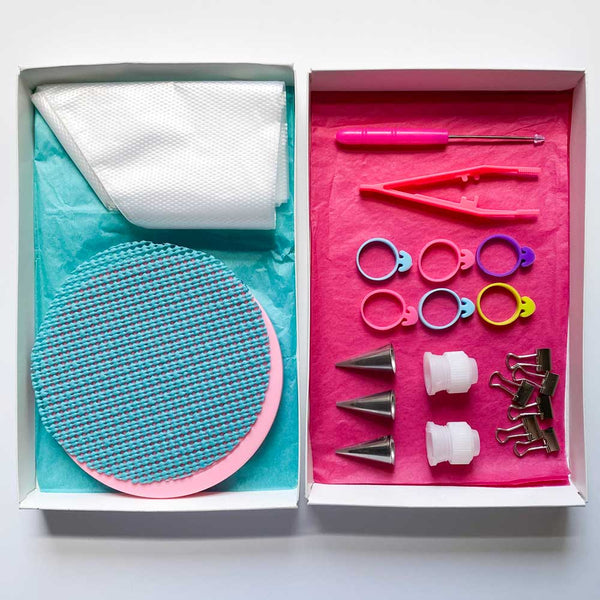
#68 Leaf Pastry Tip
#3 Round Pastry Tip
How to Decorate Easter Carrot Cookies
Make cut out sugar cookie dough (see here for our best cut out sugar cookie recipe) Bake cookies and let cool on a cooling rack. Cookies need to be completely cooled before decorating or royal icing will run off the cookie.
Make royal icing. You can use your favorite recipe or use our royal icing mix! For the green carrot tops you’ll need a medium stiff royal icing (should hold a stiff peak without drooping down), to outline the cookies you’ll need medium consistency icing which can be thinned down into flood consistency after outlining the cookies is done. Color royal icing.
Outline cookies. Drop a number 3 round pastry tip into a disposable pastry bag. Scoop orange colored medium consistency icing (see tips on royal icing consistency below) into the bag and pipe an outline around the carrot cookie. Make an outline on all of the cookies.
Flood cookies. Add water to leftover medium consistency icing to turn it into flood consistency, scoop into a disposable pastry bag (no pastry tip needed) and snip the tip of the bag. Flood inside the outline of each cookie, using a toothpick or cookie scribe to spread the icing out.
Pipe green leaves. Drop a number 68 leaf pastry tip into a disposable pastry bag and scoop in the green medium stiff consistency icing. Pipe leaves at the top of each of the carrot cookies.
Let decorated cookies set out on your countertop until icing completely dries and hardens. This usually takes a few hours but depending on humidity in the home, it could take over night.
Want to pipe swirls or designs? Wait until the royal icing on the cookies has set up (wait about an hour) and then use medium consistency icing in a disposable pastry bag fitted with a number 3 pastry tip to pipe swirls and designs.

Scared to try cookie decorating?
Here’s the Top 3 problems beginner cookie decorators face and how to solve them!
Making royal Icing.
Ever struggled to make royal icing? We got you!
Our Royal Icing Mix is a foolproof way to make royal icing! You can’t mess it up, just follow the directions on the bag, add water and mix!
Add more water to thin the consistency or add extra confectioner’s sugar if you make the consistency too thin by mistake.
Cut out cookies spreading.
There's nothing more frustrating than when cut out cookies spread out and loose their shape. Get our no spread cut out sugar cookie recipe here. It makes perfect shaped cookies every time and it tastes delicious!
Decorating the cookies.
Cookie decorating becomes easy when cookies are baked into perfect shapes and royal icing is made properly, the rest is just practice, practice, practice.
If you’re just starting out, outline the cookies with a medium consistency royal icing first, and then flood with a thin/flood consistency royal icing.
Medium consistency- is when you can run a butter knife through the royal icing in your mixing bowl and it blends back together in about 15 seconds.
Flood consistency- add a very small amount of water to medium consistency royal icing (use tiny amounts of water at a time, you can always add more). Add water until the consistency is a little runnier than honey.
Test the consistency by scooping some icing out and plop it back into the bowl, the icing should blend back together in a few seconds.
