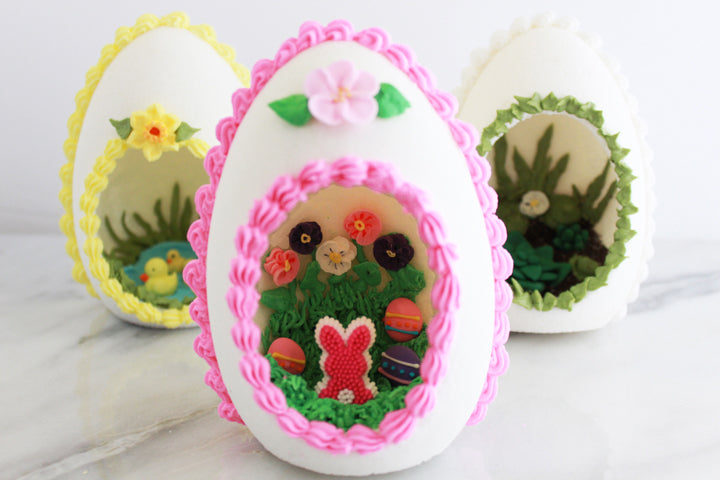
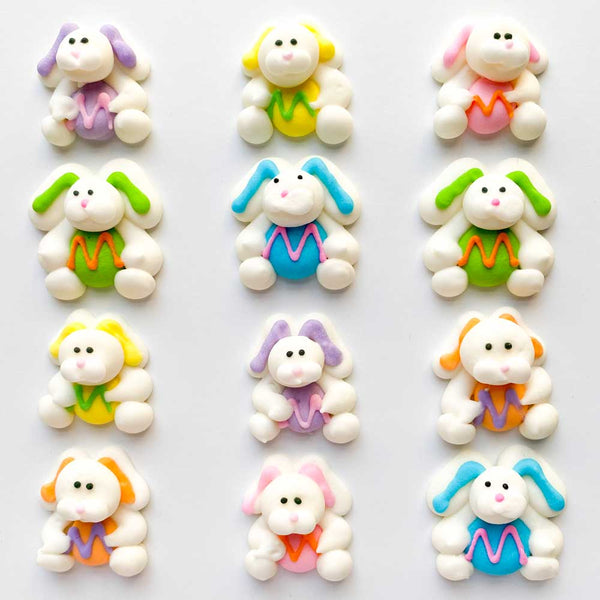
Panoramic sugar eggs make beautiful decorations, and look stunning in an Easter basket. These Sugar Eggs are the perfect Easter craft and they're a lot of fun to make! All you need is some sugar and a panoramic egg mold to get started. This traditional Easter treat involves a technique called sugar molding, the end result leaves you with a decorative sugar Easter egg that you can decorate a scene inside. The history of panoramic sugar eggs is unknown but they are quite simply an adorable old-fashioned treat!
What you’ll need:
Ingredients
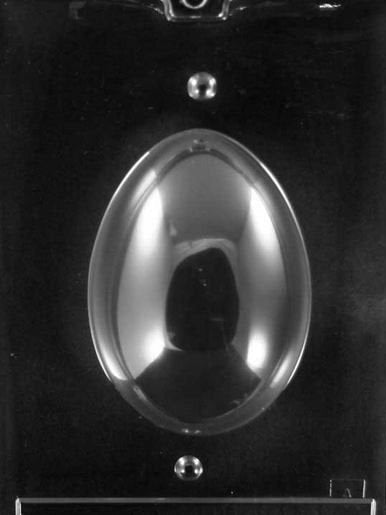
Panoramic Egg Mold
5 cups Granulated Sugar
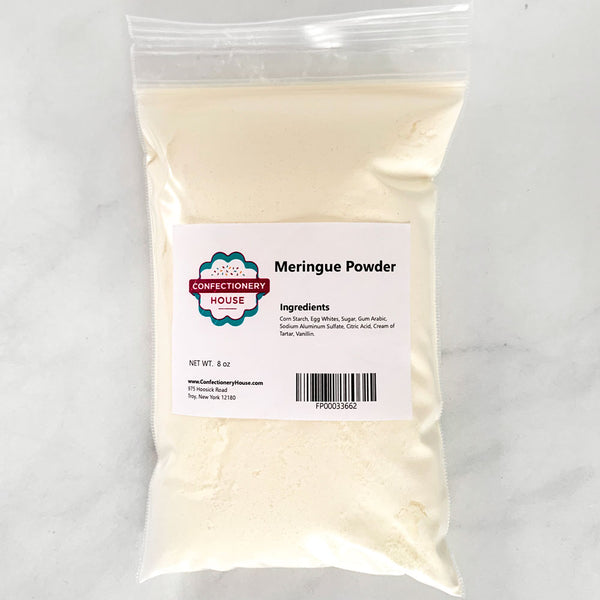
5 teaspoons Meringue Powder
6 tsp water
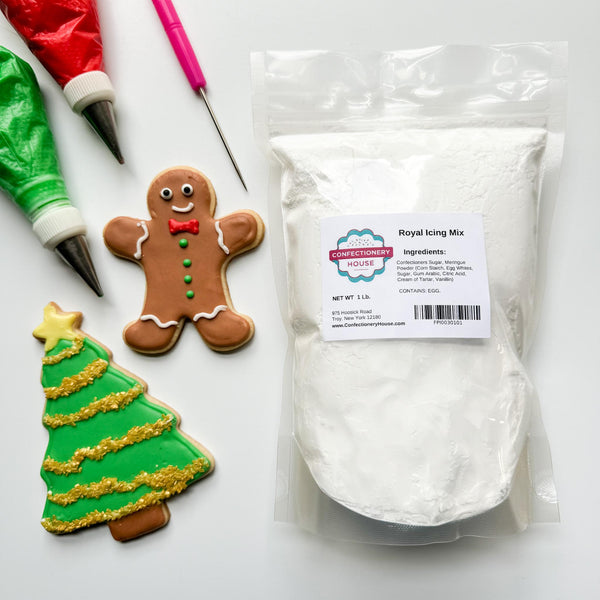
Royal Icing Mix (for decorating)
Tools
Baking sheet
A long angled spatula
Oval cookie cutter
Cardboard cut to the size of your egg mold (the unwaxed side of a cake board works)
Pastry Tips (for decorating)
Disposable pastry bags (for decorating)
Note: This recipe and the recommended egg mold yields 3 complete sugar eggs. The size of the egg mold you use will determine how many sugar eggs you’ll make with this recipe. After baking the sugar eggs, you’ll scrape out the excess sugar, which can be reused to make another batch.
For the first batch, you’ll have enough to make 4 sugar egg halves (2 complete eggs).
After you scrape out the excess sugar from the baked sugar eggs, you’ll be able to make one more set (1 complete egg). This recipe and mold make a total of 3 complete sugar eggs (6 halves).
How to make it
Step 1:
Preheat oven to 150 degrees F
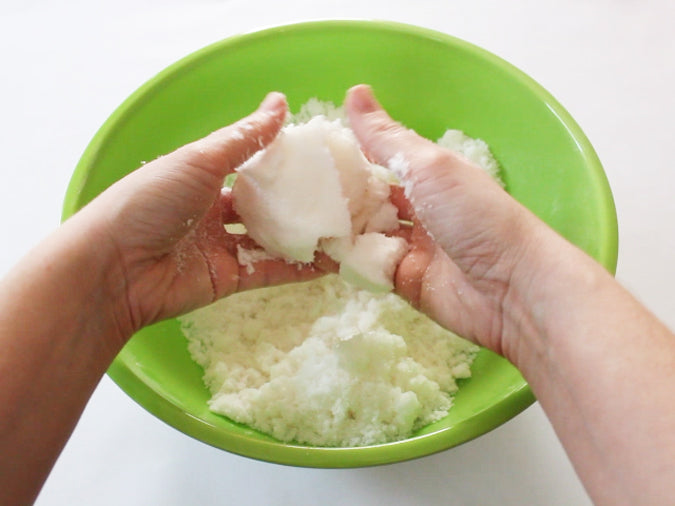
In a large bowl add 5 cups of sugar and 5 teaspoons of meringue powder, whisk to incorporate.
Add 6 teaspoons of water and mix together using your hands until it’s the consistency of wet sand.
Note: If you would like to color your sugar, add liquid food coloring to the water before adding it to the sugar mixture.
Step 2.
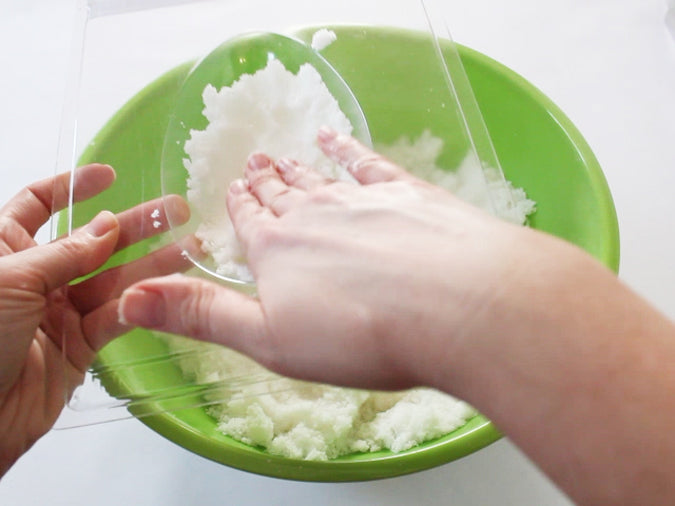
Pack the egg mold tightly with sugar. Packing the sugar tightly will avoid cracks in the finished egg. No need to coat the mold with anything, the sugar will release on its own like wet sand being turned out of a bucket.
Scrape the excess sugar off with a long angled spatula.

Step 3.
Using a piece of cardboard cut to the size of your egg mold, place against the mold and flip the mold over. Slowly lift the mold off releasing the sugar egg from the mold and leaving it on top of the cardboard. Repeat to make your next half.
Step 4:
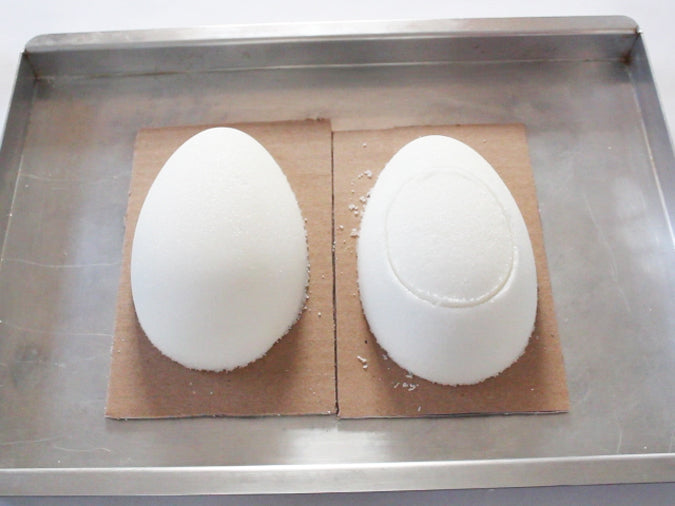
Before making more egg halves, use an oval cookie cutter to make an indent in one of the sugar egg halves (this will be the window). Don’t press too hard or you’ll break your sugar egg! This will create a weak spot in the egg so you can make a window after it’s baked. Don’t do this to all of your egg halves, only one per set.
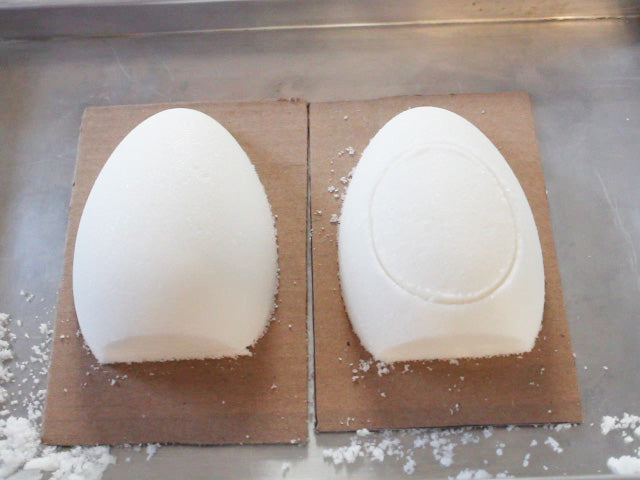
Use a spatula to cut the bottoms, making a flat base for your panoramic sugar egg to stand.
Repeat steps 2-4 to continue making your other set of sugar eggs.
Step 5.
Place the cardboard and eggs on a baking sheet. Bake in the oven at 150 degrees F for 15 minutes.
After baking, let cool for 10 minutes.
Note: It doesn't matter what size sugar egg you make, it will bake at this time and temperature.
Step 6.
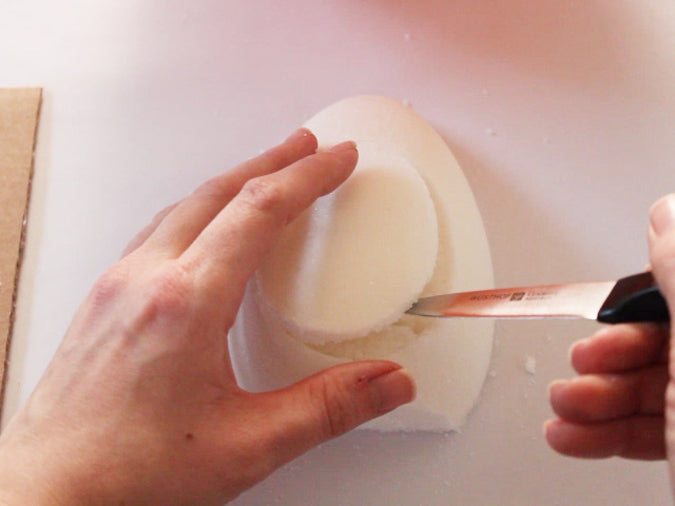
Using a sharp paring knife, score around the oval cut out in the one half of the sugar egg. Go all the way around until you can easily lift it up. Be careful not to crack the sugar.

Step 7.
Over a bowl, turn the panoramic sugar eggs over and use a spoon to lightly dig out the soft areas of sugar. Don’t forget to dig out the oval area you cut for a window. Place on a cooling rack for 10 minutes to allow the inside to dry.
Use the sugar you just removed from the eggs to make another set of panoramic sugar eggs. Just add a ½ teaspoon of water to the sugar, and mix well. Begin the molding process again.
How to decorate and assemble panoramic sugar eggs.
Our pre-packaged royal icing mix makes this project super easy, just follow the directions for making stiff piping consistency. Add your favorite shades of AmeriColor food coloring. Cover with a damp cloth when not in use to prevent the icing from hardening.
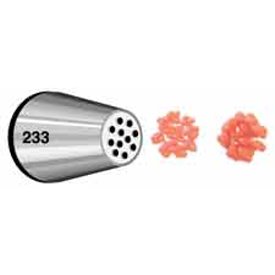
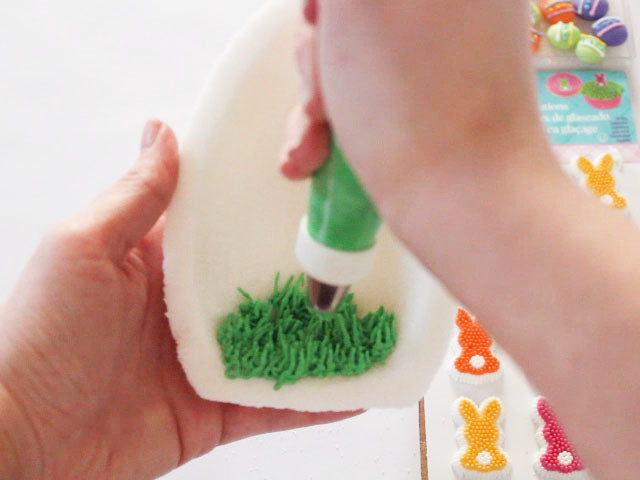
Pipe grass using green colored royal icing and a #233 multi-opening grass tip. Add pre-made royal icing decorations to create fun Easter Scenes inside the back half of the sugar-egg (the half without the window). Let the royal icing harden.
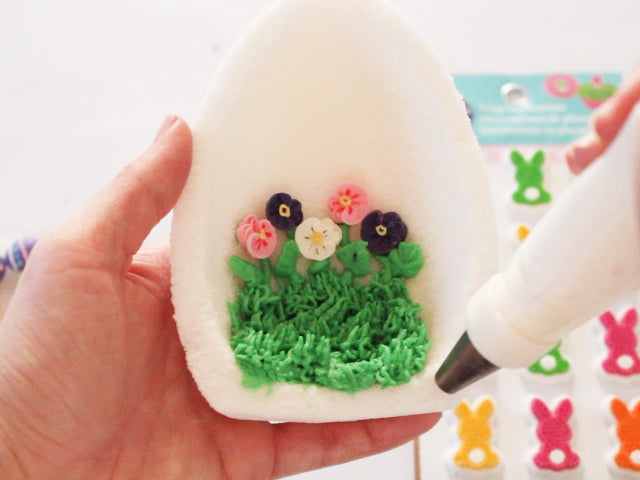
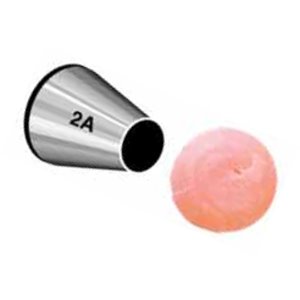
Attach the front half (with the window) and the back half together using a #2A large round tip to pipe royal icing along the edge.

Hold it together for a few minutes until it’s firmly attached. If you need to add anything, you can add more piping and decorations through the window.
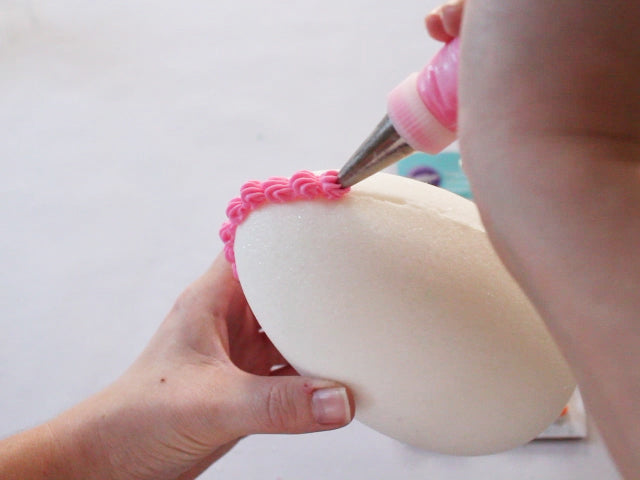
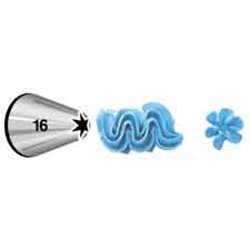
Use a star tip to pipe a shell border around the edge to hide the seams where you attached the two halves of the panoramic egg.
Here’s a list of pastry tips we used:
Shell Border- Star Tip #16
Piped Grass- #233 Multi-String Tip
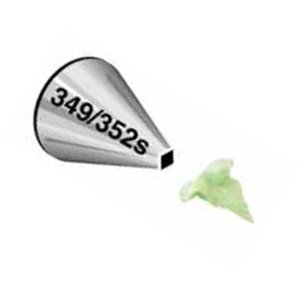
Leaves and Flower Stems- #349 Leaf Tip
To attach the two halves together we piped frosting around the edges using a 2A round tip.
