Thumbprint Snowman Cookies are easy to make and decorate when you use Merckens White Candy Coatings!
They’re delicious and cute, and everything you could want in a Christmas cookie.
They’re not overly sweet and go wonderfully with coffee on Christmas morning (Santa will love them too!).
You don’t need to be a cookie decorating maven to decorate them, so they’re great for kids and cookie parties.

What You’ll Need
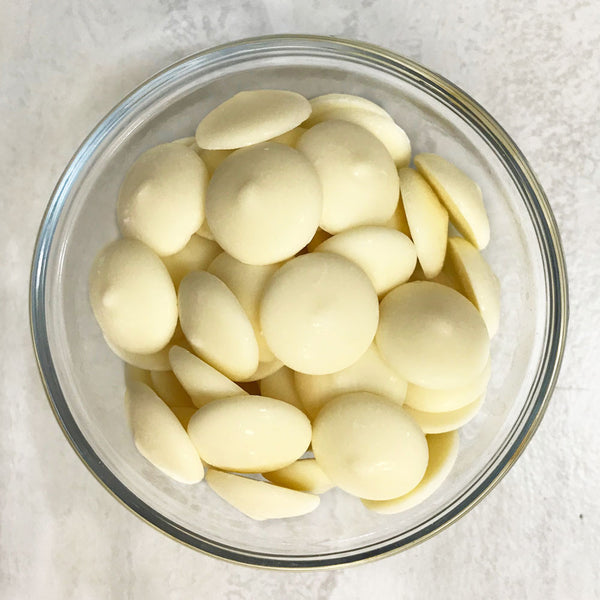
One Pound Merckens White Candy Coatings
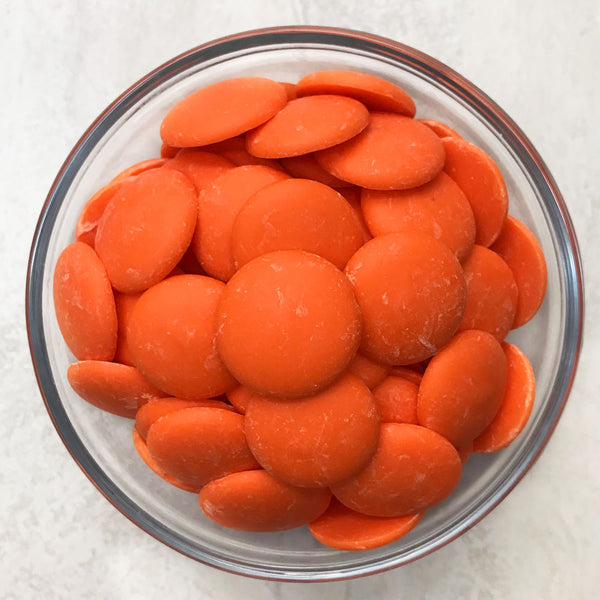
One Pound Merckens Orange Candy Coatings
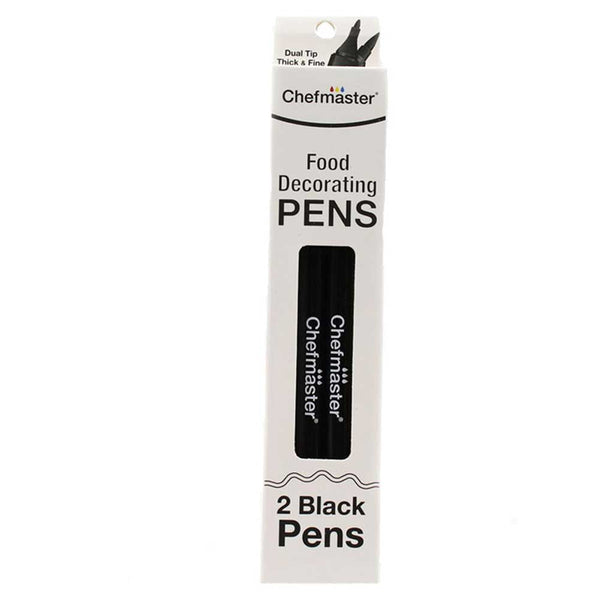
Black Edible Food Markers
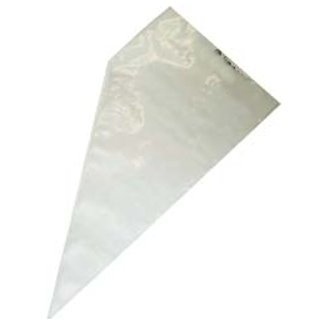
Disposable Piping Bags
One batch of thumbprint cookies baked and cooled (recipe below)

Bake the Cookies
Use the recipe below to make the thumbprint cookie dough, there’s no chill time required, so you can bake the cookies right away! If you want to get ahead of the holidays, you can bake a batch of these cookies 3 weeks in advance and freeze them. Just store undecorated cookies in an airtight container in your freezer, and when you’re ready to serve them, let them come to room temperature before decorating.
Our Thumbprint Snowman Cookie Recipe makes about 2 dozen cookies when using a tablespoon of cookie dough for each cookie.
Melt the Merckens White Candy Coatings
In a disposable pastry bag, melt ½ pound of Merckens white candy coatings in the microwave 20 seconds at a time, squishing the bag around in between intervals to distribute hot spots (see how to melt Merckens here).

Fill the Thumbprint Cookies
Once the chocolate is melted, snip the tip of the bag and squeeze the white chocolate into the centers of the cookies, filling to the top.
(make sure the cookies are cooled prior to filling with chocolate.)
When all of the cookies are filled with white chocolate, place them on a baking sheet and set aside to harden at room temperature for about 20 minutes or until the chocolate has set up and hardened.

Draw Faces with an Edible Marker
Using a black edible marker, draw a face and eyes onto the white chocolate, clean the tip of the marker with a paper towel in between drawing to remove buildup that can form at the tip, making it hard to draw.
Make sure you only use an edible marker for this project, they’re filled with food coloring making them safe to use on baked goods -- regular craft markers are not food safe.

Pipe a Carrot Nose
Melt 1/4 cup of Merckens Orange Candy Coatings in a disposable pastry bag 20 seconds at a time in the microwave. Snip the very tip of the pastry bag and pipe a carrot nose onto the center of the white chocolate. Let the orange noses set up at room temperature for about 10 minutes
You’ll love how cute and easy they are, and if you recruit the kids to help you’ll have your cookie decorating done in record time. Nothing beats feeling like an accomplished cookie hero during the holidays.
