
Looking for an easy Halloween chocolate covered oreo idea? With one simple sandwich cookie chocolate mold, you can make mummies, bats, jack-o’-lanterns, and spider webs without needing a bunch of different molds.
Our Plain Sandwich Cookie Mold is one of my favorites because it’s basically a blank canvas for your creativity, and it’s perfect for so many different holidays and occasions.
Fill halfway with Merckens Chocolate Melts, set your oreo in place, and then top with more melted chocolate. Let it set up in the fridge until the chocolate is firm, pop them out of the mold and then decorate the perfectly smooth surface for whatever holiday your heart desires.
For Halloween, I’m showing you four easy ways to decorate molded Oreos using simple techniques and just a few candy making supplies.
What you’ll need
To make these Halloween chocolate covered Oreos, you’ll need:
Plain Sandwich Cookie Mold
Oreos
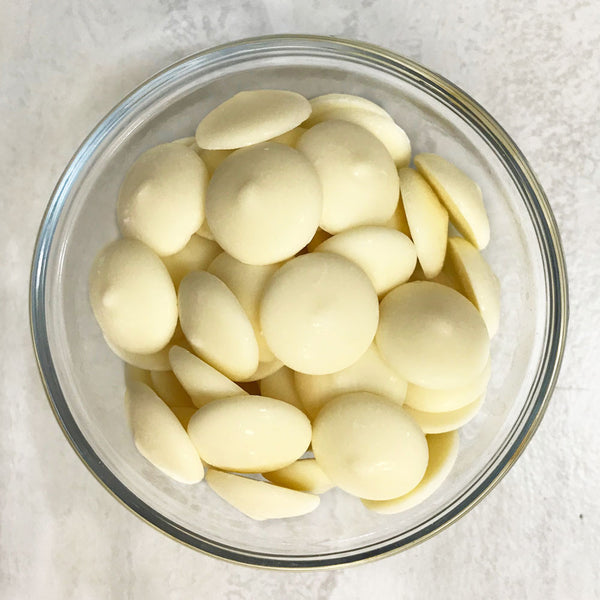
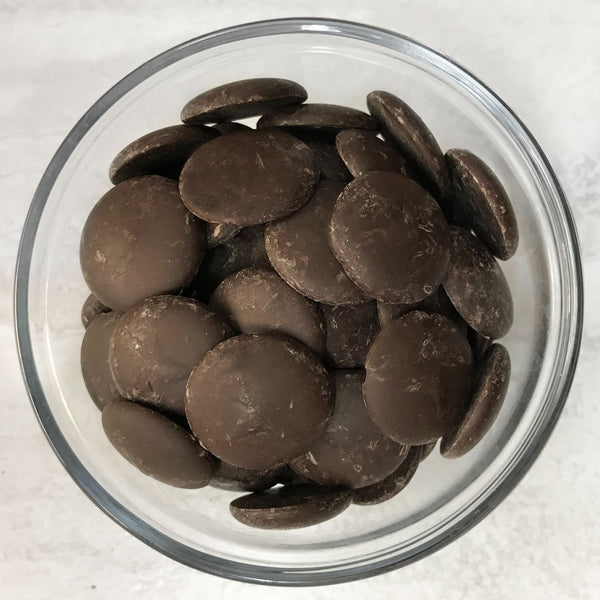
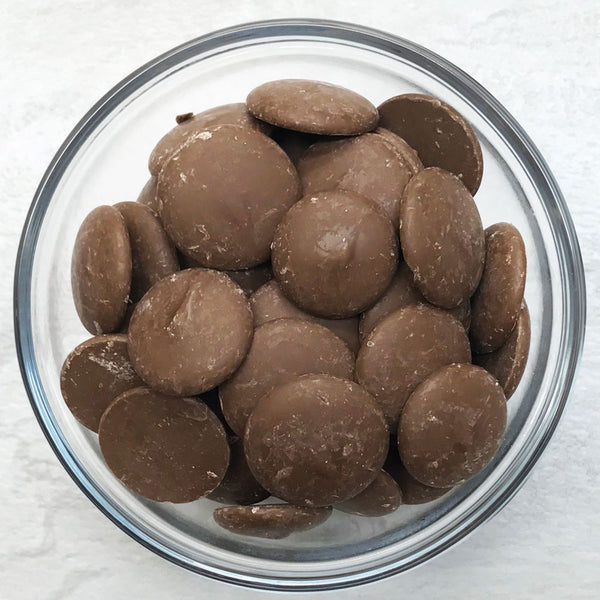
Merckens Chocolate Melts in white, orange, milk chocolate, and dark chocolate
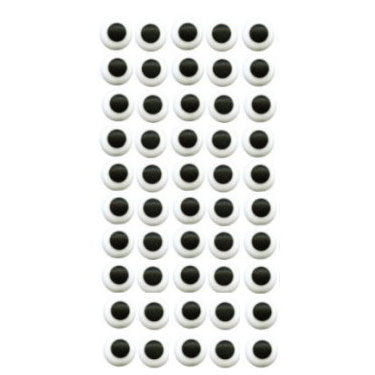
½ inch Icing Eyes
Edible Spider Sprinkles
Disposable Piping Bags
Toothpicks
You don’t need every supply to make every design, so feel free to pick your faves or make all four!
How to make chocolate covered Oreos using a mold
Before we get to Halloween decorating, you’ll need to make your basic molded chocolate covered Oreos.
Start by melting Merckens Chocolate Melts 20 seconds at a time in the microwave, I like to melt mine in a pastry bag. You can Learn How to Melt Merckens Chocolate Here.
Fill the cavities of the Plain Sandwich Cookie Mold about halfway full with melted chocolate, press the Oreo cookie down into it until the chocolate comes up around the sides, then top with more melted chocolate to cap it off.

Tap the mold onto your work surface to bring air bubbles to the top, and place in the refrigerator for about 15 minutes or until they easily release from the mold.
Now you’ve got a smooth chocolate covered oreo that’s ready for the fun part…decorating!
Important note: allow the chocolate covered oreos to come to room temperature before decorating or the decorations and additional chocolate won’t adhere.
Mummy Chocolate Covered Oreos
These little mummies might be the easiest and my favorite out of the bunch. The icing eyes and chocolate drizzle mummy wraps give them instant personality.
Start with a room temperature Oreo molded in White Merckens Chocolate Melts.
Use a tiny amount of melted white chocolate to attach two ½ inch icing eyes to the molded oreos.
Next, using chocolate in a disposable pastry bag, drizzle more melted white chocolate back and forth to create the mummy wraps. You can partially drizzle over the eyes so they look like they're peeking through.

Don’t worry about making the drizzle perfect. The uneven, overlapping drizzle is exactly what gives these mummies their personality.
Bat Chocolate Covered Oreos
You don’t need a special bat mold to make these! You’ll need to do a little handy work with some oreo cookies to make the wings, but other than that, they’re really easy to make.
You’re going to need Oreos molded in dark chocolate (remember to make sure they’re not fresh out of the fridge, we want room temp!).
First, we’re going to make the wings. Grab an extra oreo, split it in half, and scrape off the cream filling. Using a sharp pairing knife, score one half of the oreo in the middle, and then snap in half. I learned that scoring it with a knife first, gave a nice clean break.
Use a little melted chocolate to attach each “bat wing” to the backs of the chocolate covered Oreos. Let the chocolate set up for about 5-10 minutes before flipping them over.

Attach two ½ inch icing eyes using melted chocolate.
And that’s it! Your plain round chocolate covered Oreo is suddenly the cutest Halloween bat!

Easy Jack-O’Lantern Chocolate Covered Oreos
If you struggle with piping small details, don’t be afraid, I’ve got a trick to help you pipe the cute faces onto these oreos.
Start with an oreo molded in Orange Merckens Chocolate Melts.
Pipe three small dots of melted milk chocolate to the surface, two for the eyes, and one for the nose.
Instead of trying to pipe perfect triangle shapes, grab a toothpick. While the chocolate dots are still melted, gently drag and shape each dot to create the points of the triangles for the eyes and the nose.

Then, pipe a little zigzag for the mouth and use the tooth pick to drag the points where you want them.
Spider Web Chocolate Covered Oreos
For our last Halloween Oreo, we’re making a simple chocolate spider web.
Start with a room temp Oreo molded in Milk Chocolate Merckens (or any color you’d like really.)
Pipe a small dot of melted white chocolate in the center. Then pipe two thin circles of white chocolate around it.
Then, pipe lines from the center dot out to the edge of the Oreo to create the spider web.
While the white chocolate is still melted, add an edible spider sprinkle to the “web”.

It’s so simple, but once you add the spider sprinkle, it all comes together.
One Chocolate Mold, So Many Possibilities
This is exactly why our Plain Sandwich Cookie Chocolate Mold is one of my favorites.
A plain mold might not look as exciting as some of our other detailed candy molds, but that’s exactly what makes it so useful. Instead of being limited to one design or one holiday, it gives you a blank chocolate canvas to decorate however you’d like.
All you have to do is change the chocolate colors and decorations and the same mold can be used to make Christmas chocolate covered oreos, Valentine’s Day treats, Easter Oreos, birthday favors, baby shower treats, and so much more!
It’s one mold you’ll find yourself reaching for again and again.
Make Your Own Halloween Chocolate Covered Oreos
Ready to make them?
You can find the Plain Sandwich Cookie Chocolate Mold, Merckens Chocolate Melts, 1/2 inch Icing Eyes, Spider Sprinkles, and more Halloween Candy making supplies at Confectionery House.