"I'm afraid I'll squirt frosting all over the kitchen"...
That's what one of my friends texted me when I told her she could totally decorate cupcakes. And maybe you've felt that way too, like piping bags are a one way ticket to frosting chaos.
If you’ve ever watched someone pipe a perfect cupcake swirl and thought, “Yeah… mine would never look like that,” you’re not alone.
But I’m here to tell you, with the right tools, the right frosting, and a few easy tips, you can do this. Even if you’ve never picked up a piping bag before.
Whether you’re decorating cupcakes for a party, a bridal shower, graduation, or just for fun, this is your guide to getting started and feeling confident making beautiful cupcakes at home. And I promise you won't be cleaning frosting off your ceiling!
What You’ll Need to Decorate Cupcakes Like a Pro (Even if You’re A Newbie)
Here’s what I recommend having on hand:
-
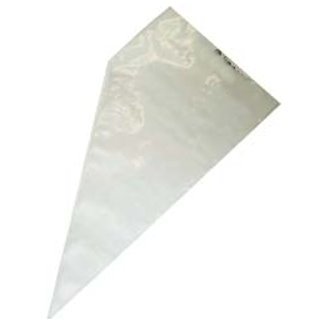
18 inch Piping bags – Disposable or reusable, whatever works for you.
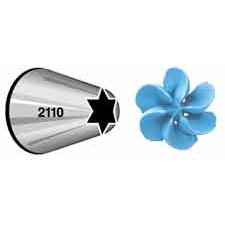
- A large piping tip – I used a 1M piping tip (that’s the classic swirl one).
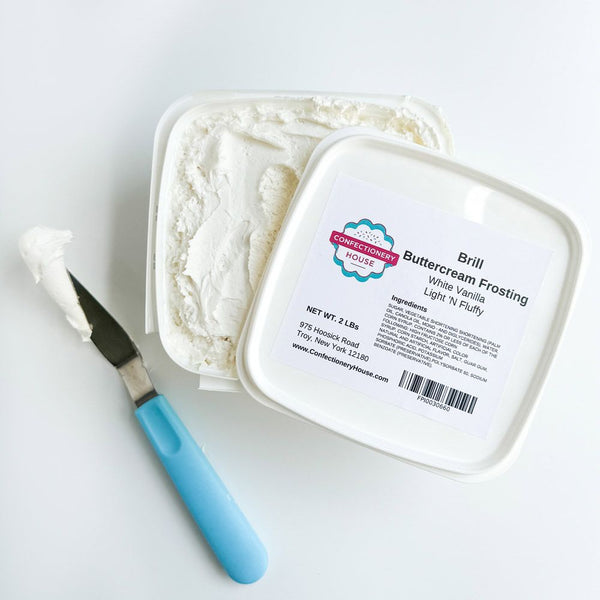
- The right frosting – You want something smooth and sturdy, like American buttercream (Too soft and it won’t hold its shape!) You can use a premade frosting like our Brill Light and Fluffy Buttercream or use our easy buttercream frosting recipe to make your own from scratch.
- Cupcakes – Cooled, of course.
- A tall glass or cup – Trust me, this makes filling your piping bag so much easier.
Step 1: How to Set Up a Piping Bag
Setting up your piping bag is the first step, it’s not as tricky as it looks!
Drop your piping tip into the bag and push it down to the end, snip the end of the bag if you’re using a disposable piping bag.
Place the piping bag in a tall cup and fold the top of the bag over the rim of the glass to hold the bag for you and keep your hands free.
Fill the bag about halfway with frosting (too full = too messy).
Remove the bag from the cup and push the frosting down to the bottom of the bag. Twist the top of the bag to keep the frosting from coming out the top.
“Burp the bag”...squirt some of the frosting back into your bowl until air bubbles release. You may not have any air bubbles this time around, but this will prevent any air bubbles from coming out mid swirl.
Step 2: What’s the Best Piping Tip for Cupcakes?
If you’re just getting started, go with a 1M open star tip. It gives that classic swirl that always looks pretty, even if your technique isn’t perfect.
We sell this piping tip in our shop, you can get a 1M tip here if you need one!
Step 3: How to Hold a Piping Bag
This part trips a lot of people up, but once you get it, it clicks.
Hold the bag at the top, where you twisted it, with your dominant hand.
Hold the top of the bag between your thumb and your index finger.
Use your other hand to guide the tip.
You’re squeezing from the top, not the middle—that’s the trick to even pressure!
Step 4: How to Pipe the Perfect Cupcake Swirl
Here’s the secret, don’t overthink it. Hold the piping tip straight up and down over your cupcake.
Start on the outside edge of the cupcake.
Apply steady pressure and move in a smooth circle around the outside, then spiral up and in toward the middle.
Stop squeezing, lightly push down, pull up and away, and you’re done!It doesn’t have to be perfect to be beautiful. Every swirl you pipe is uniquely yours, and honestly, the fun is in the doing.
Need a Visual? Watch the Video!
I walk you through all of this in my video, so you can decorate right along with me.
You’ve Got This.
Decorating cupcakes isn’t about being the best, it’s about having fun in the kitchen, getting creative, and making something that brings people joy.
You don’t need fancy skills to start. Just a piping bag, a swirl of frosting, and a little encouragement.
So grab your cupcake tools, turn on some music, and get frosting. You’ve got magic in those hands.
