
How to use a chocolate mold
You’ll need at least one chocolate mold to get started. We’ve got every type of chocolate mold you can think of from chocolate bar molds to baby chocolate molds, and all occasions in between. You can shop all of our chocolate molds here.
How to Melt Merckens Chocolate Melts
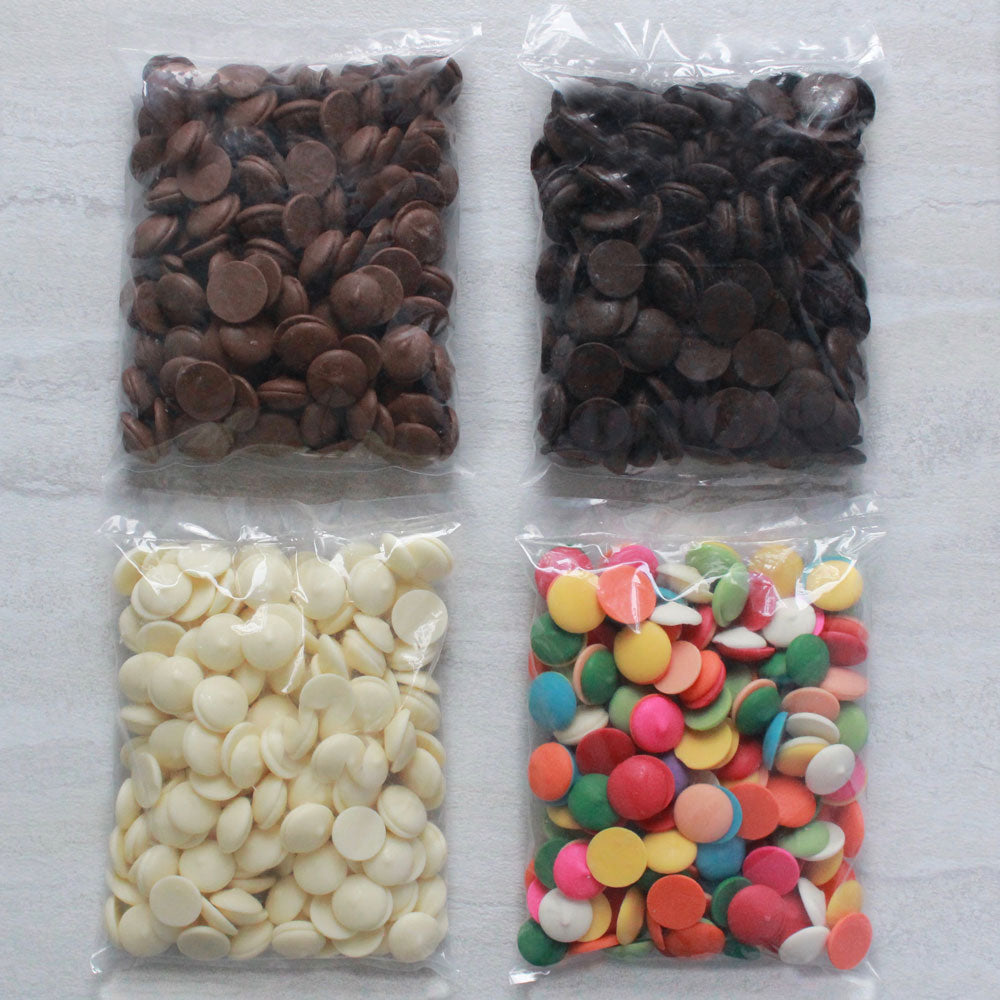
Merckens Chocolate Melts is the best chocolate for chocolate molds. These candy melts are rich and creamy and melt easily, making them easy to use with chocolate molds. Once melted, Merckens can go right into candy molds-- no tempering required. Merckens candy coatings come in three different flavors, milk chocolate, white chocolate, and dark chocolate. They also come in a variety of colors that have a delicious white chocolate vanilla flavor.
In the microwave melt half a pound of candy coatings in a disposable pastry bag (place a paper towel underneath to avoid any messes) Microwave for 20 to 30 seconds at a time. Move candy coatings around in the pastry bag to distribute any hot spots in between intervals. Once melted, snip the very end of the bag leaving a small opening. See HERE for detailed instructions to melt merckens.
Cut the tip of the bag just enough to allow the chocolate to flow freely from the pastry bag, but you should still have some control.
Why use a disposable pastry bag?
A spoon is useful, but sometimes a little messy leaving excess chocolate on the edges that you’ll need to remove from your finished chocolates using a paring knife.
We use 12-inch disposable pastry bags to fill our chocolate molds, it keeps things neat and tidy and makes for easy cleanup.
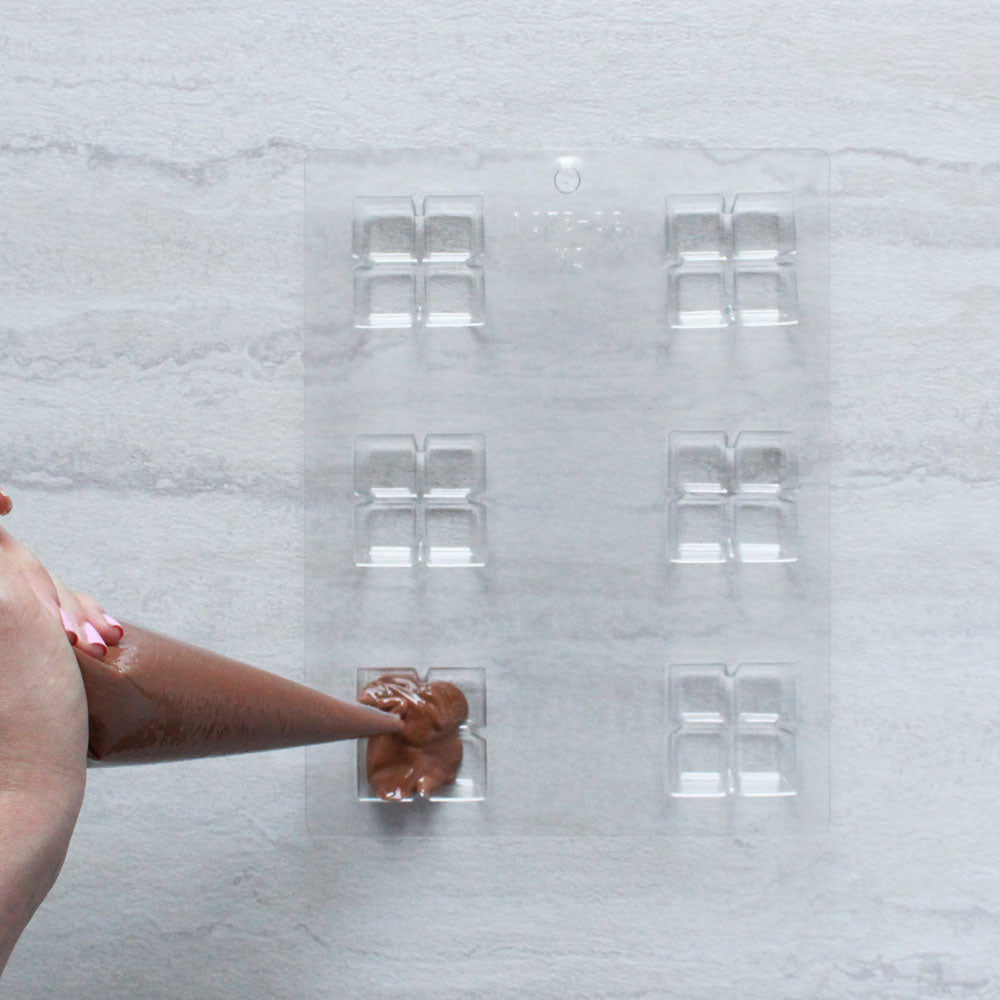
How to Fill a chocolate mold
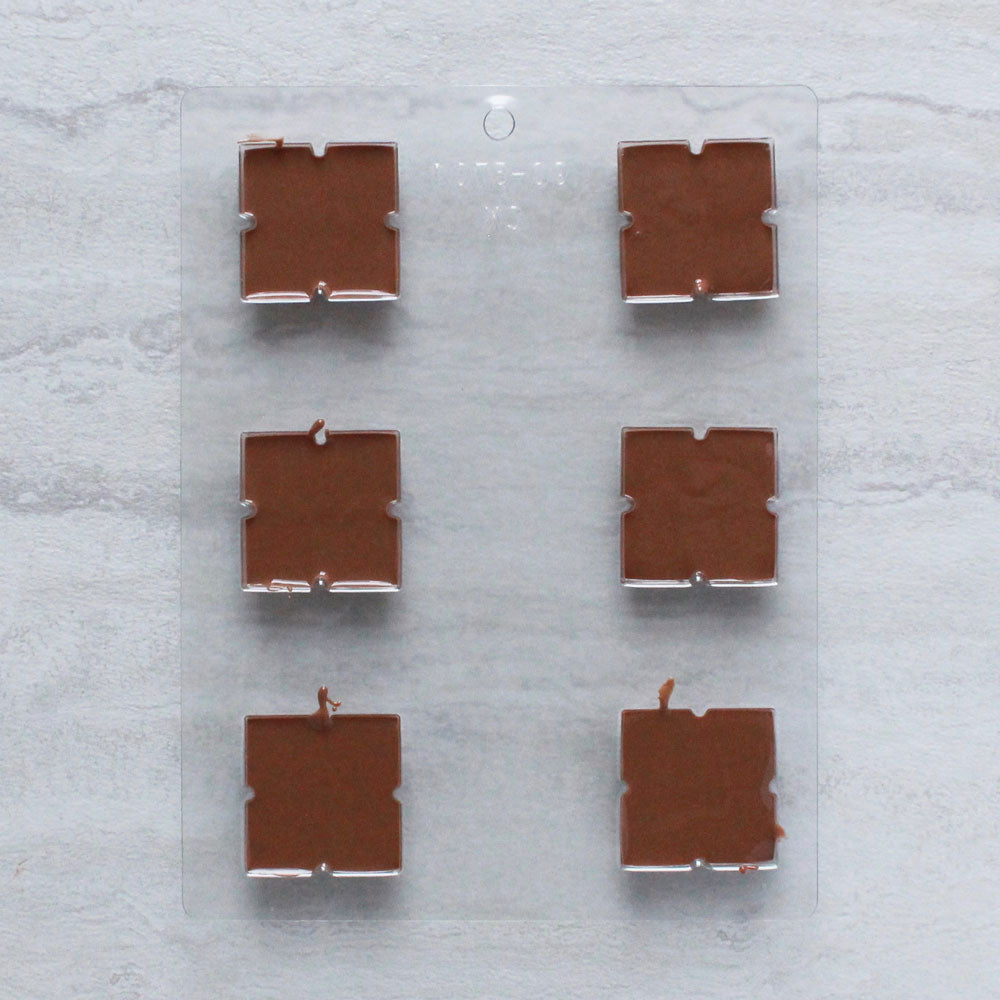
Place in the refrigerator; chocolate usually takes 10 to 20 minutes to set in the fridge and harden. Smaller chocolate molds may take less time to set up, and larger chocolate molds could take the full 20 minutes.
Release the Chocolates from the Mold
Check the bottom of the mold, is it white and cloudy? If so, your chocolate candy is hardened and has started to pull away from the mold, and it’s ready to release! Does it still look wet and pressed against the mold? Your chocolate may need some more time to harden. Once hardened, carefully flip the chocolate mold over onto a paper towel. Keep the mold close to the work surface (no skydiving chocolates!) and give it a little tap if they won’t release right away. If you have trouble getting chocolate to release from molds, you can place it in the freezer for up to 5 minutes. Sometimes it needs to be extra cold!
Dull finish or White Streaking
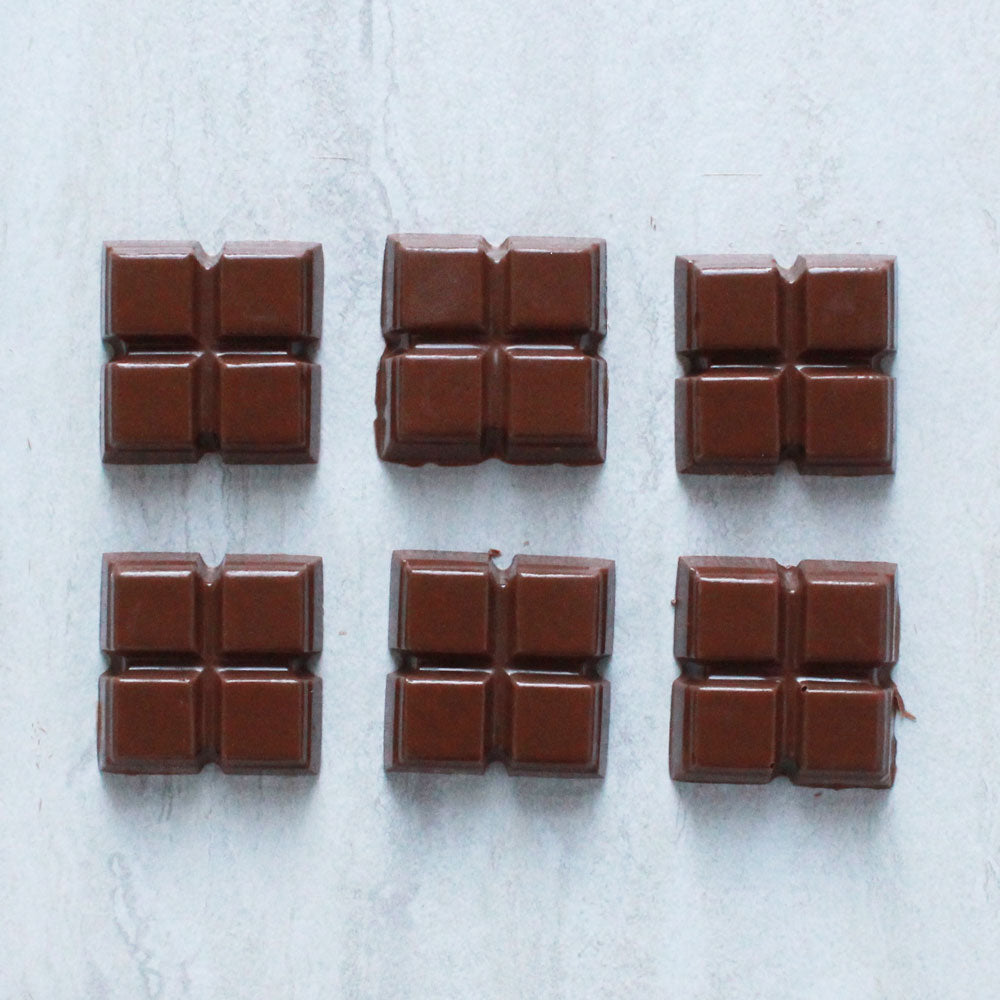
Molded chocolates should have a beautiful shine, but if they look a little dull, it might be because the chocolates need more time in the fridge. Although they may look hardened, sometimes they need just a little longer. Noticing white streaks? White streaks happen when candy melts have gotten a little too warm during melting, this separates the fats and creates a streaky finish. Try remelting the chocolate and stirring it a little extra.
How to use candy molds with different colors
If you want to paint different colors in your chocolate mold, you’ll need plastic bristle paintbrushes. Regular soft paint brushes leave behind fine hairs and will get ruined if the chocolate hardens. Our candy paint brushes are perfect for this!
Paint different details inside the chocolate mold using merckens colored candy coatings. You can purchase individual colors, or a Merckens rainbow mix bag if you only need a few chips of each color.
If you’re only melting a couple of chips to paint with, use a small bowl that is equivalent in size to the amount of chocolate you are melting. Little glass prep bowls work great! Melt in the microwave for 5 to 10 seconds at a time and stir in between intervals. You could also invest in a heated candy melter palette to make the job easier!
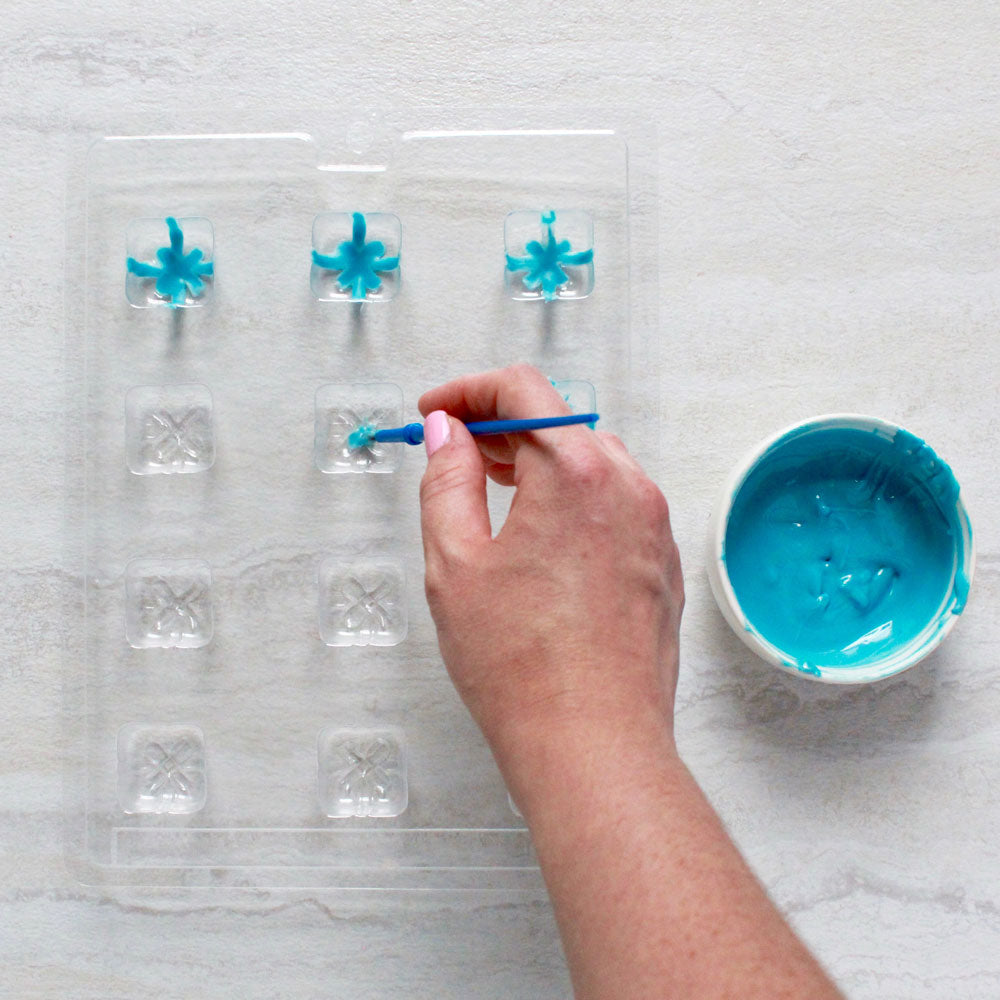
Using a plastic bristled candy brush, in a dabbing motion, paint the areas inside the mold where you would like a color. Let each color dry before applying the next. Cotton swabs and toothpicks work well for cleaning up edges and mistakes.
It's important to make sure the painted areas have a thick coating of chocolate. Check the thickness by hold the mold up to the light, if you can see through the chocolate, add another coat.
When you’re finished painting the mold, let it cool off in the refrigerator for about one to two minutes.
After the mold has chilled for a few minutes, pour melted candy coatings over the top of your painted design and fill to the top. This will be your solid-colored base. Let harden in the refrigerator for 10 to 20 minutes.
Questions you might have when learning to use chocolate molds
How to clean chocolate molds
Chocolate molds need to be clean, dry, and polished before each use! We recommend polishing the cavities of your chocolate molds between uses with a dry paper towel. If the cavities of the mold are dull your homemade chocolates will lack shine. To clean plastic molds use warm (not hot) soapy water and a soft cloth. Dry molds and polish right away. Never put chocolate molds in the dishwasher, the high heat will warp the plastic.
Do you spray chocolate molds?
No need to spray or coat chocolate molds with any type of oil. As long as you used the proper molding chocolate and let it completely set in the refrigerator, your chocolate will easily release on its own.
How long does it take for the chocolate to set up in molds?
How long it takes for the chocolate to completely set up in the molds depends on the size of the plastic candy mold. Smaller molds might take 5 to 10 minutes and medium to large molds could take anywhere from 15 to 20 minutes.
How do I store homemade chocolate?
You can make chocolates up to 1 month ahead of time. Store finished pieces in a plastic container, and keep in a dark, cool, dry place, away from any humidity or moisture. It’s not recommended to store chocolate in the refrigerator; it can cause it to sweat and get sticky. If storing in the refrigerator is your only option, you can do so, but bring them out to room temperature before handling. Open the container the chocolates are stored in and let the condensation/stickiness dry up before touching.
Check out our other chocolate mold how to's
How to use an oreo sandwich cookie lollipop mold
How to make birthday cake chocolate bars
How to make chocolate covered rice crispy treats
Homemade peanut butter eggs recipe (how to make filled chocolates)


